
Anti-Aging iOS Simulator
Nowadays, face recognition has become a trivial task on mobile platforms. Both, iOS and Android platforms has their own libraries that are very helpful for the developers. The native functionalities offered by theses platforms are certainly not very rich, though even they can become a very useful foundation for more complex solutions.
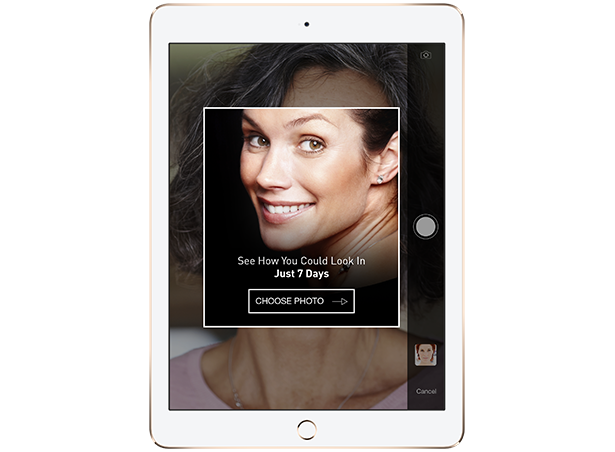
Central feature is face recognition
The difficulty is that the standard iOS face recognition library detects a rectangle around the face. Further we would need to apply some filters towards the face, but the face is oval, rounded, but not rectangular in no ways. An angular displacement within a rectangular is a big issue in this case. Furthermore, after detecting the face and applying filters to it, a user should have been able to additionally correct the image by touching the problematic areas of the face, and switch between the original image and the new one in order to evaluate the results.
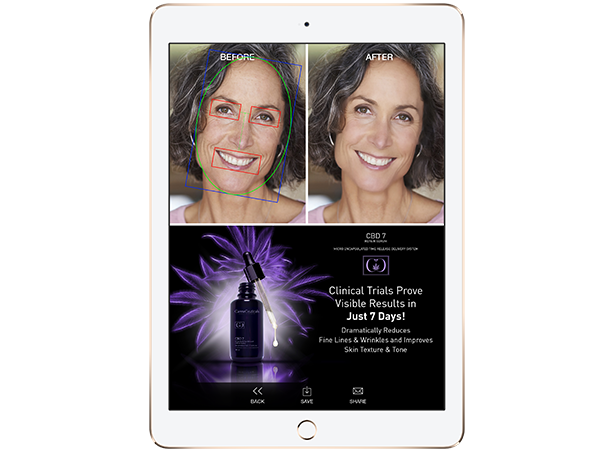
Standard face recognition iOS feature and a little aptitude.
First, the result of using standard iOS face recognition library is a rectangle around the face, mouth and eyes location points, if there is any face on the image, certainly. After that we should find face ellipse inside this rectangle, and ellipse’s angle. Then we create a line between two eyes location areas, and a line between mouth location point and the middle of the previous line. With the help of these two lines it is possible to calculate the angle of inclination. So, it allows us to create a mask – an oval image around the face.
Blur effect on the mask
The second step is adding blur effect on that mask. We decided to use GPUImage library for blurring. We add bilateral filter with the normalization factor 2.0 for the distance between central color and sample color. Then blended it with the original image in proportion 40%/60%.
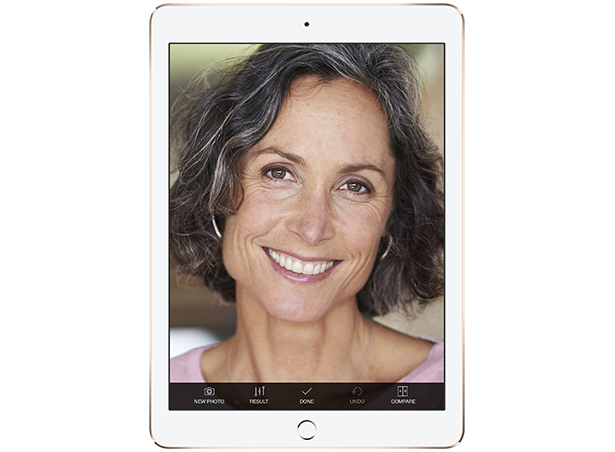
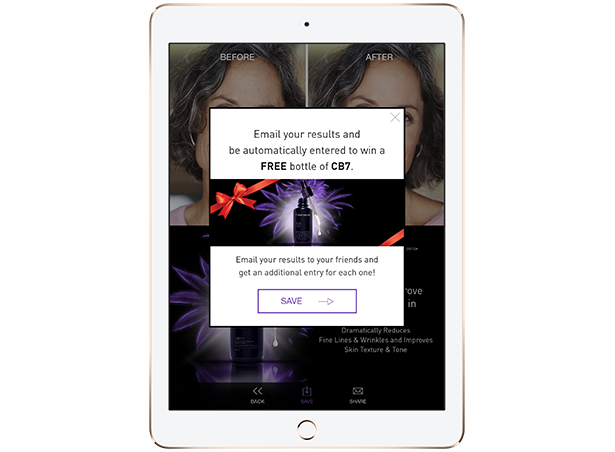
Comparing images
After solving this part of the task, an additional correction with the help of touch events was easy: we put two images one under another. The image above is the original image (after the activities listed above were applied). And the image at the bottom is an image with an additional blur effect after applying effect on touch. When the user swipes the screen, we get coordinates of swiping and clip appropriate part of top image, so that in that particular place user would see the image at the bottom. And, at the very end, after the user decides to proceed, we merge the two images together and get the result image.

We love working with Artfulbits. They take your ideas and find ways to make them easily executable. We've hired them multiple times and they have always provided quality work both on time and on budget. We highly recommend them to anyone who is looking for a skilled and experienced team to handle their projects. They are a pleasure to work with.
non-disclosed / Danielle R.